I often think of the proverb, “If you give a man a fish, you feed him for a day. If you teach a man to fish, you feed him for a lifetime.” As a fishing guide, I take great pride in teaching this skill regularly, and I feel good when I see novice anglers on their way to one of the most enjoyable and rewarding endeavours available.
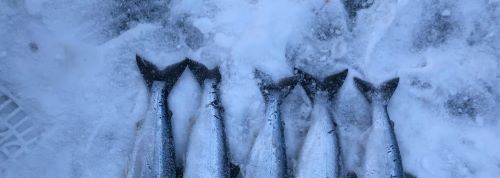
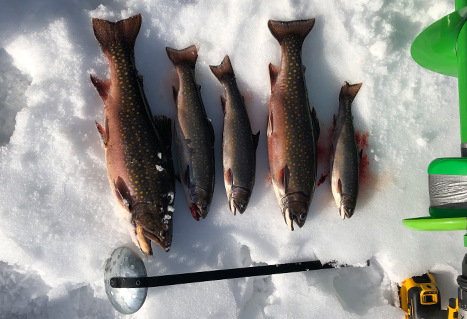
Almost everything about angling is healthy. Getting out into the quiet wilderness, and engaging with family and friends away from constant distractions, is literally a breath of fresh air. As an added bonus at the end of a successful fishing venture, anglers can harvest and consume some of the healthiest choices of protein available. While the almost endless ways to prepare fish for meals makes them very versatile, how you prepare them for long-term storage is important.
While most anglers will just freeze their catch, two of the best ways to preserve trout and salmon are smoking and canning. Not only do these methods extend the quality of the fish’s flesh for longer periods of storage, but they can also provide numerous unique flavours and textures to the fish.
Canning preserves fish for extended periods of time. The canning process effectively sterilizes both the fish and its container, and vacuum-seals the product from the outside environment. Canned fish can remain safe, useful, and flavourful for years.
Sterilizing Canning Jars and Lids
It is important that the jars and self-sealing lids are scrupulously cleaned prior to use. These materials should go through your dishwasher at the hottest temperature setting, filled and rinsed with boiling water, and then left to air-dry.
To achieve an airtight seal after canning, carefully inspect the rubber sealing bands around the inside edge of the tops: are they free of any defects or contaminants? It is usually recommended that you use new canning tops for each canning session to ensure proper sealing. Without a proper seal, the product will likely spoil in a short period of time.
Fish Preparation
To prepare your fish for canning, simply cut the fish into chunks of a size that will fit into the canning jars. Leave about 2.5 centimetres (one inch) of head space for expansion. It is not necessary to skin, scale, or debone your fish; the pressure-canning process will soften and make these items edible.
Since fish contain sufficient moisture levels that will be extracted during the canning process, no additional water is required. Simply add five ml (one tsp) of non-iodized salt in each 500 ml (one pint) jar, along with 10 ml of vinegar and/or lemon juice. If desired, you can add your own favourite fish seasonings.
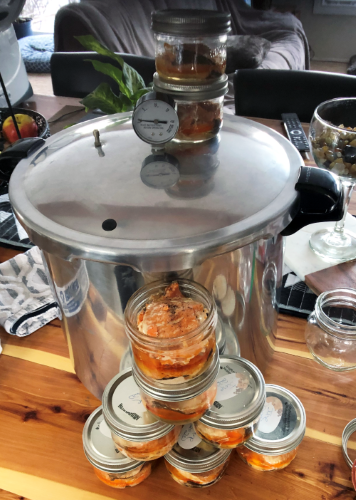
Pressure Canning
Follow the instructions provided with your pressure canner to complete the canning process and achieve a proper seal. Remember that pressure cooking can be dangerous; follow all safety precautions.
After pressure cooking, remove your containers of canned fish from the canner and allow them to cool. You will know that you have a proper seal when you hear the audible, metallic-sounding “ping” the top makes as the vacuum in the container causes it to indent. While any improperly sealed cans cannot be stored for long periods at room temperature, the fish won’t be wasted; it can still be refrigerated and eaten for a short time.
When canning is done properly, the preserved product will last for years, and provide your family with a tasty, unique, and healthy option for a snack or meal. Canned fish can be used in casseroles, fish cakes, salads, and as a yummy filling in sandwiches.
Author: Steve Maricle. Steve is a retired provincial fisheries biologist who now works as a fly fishing guide in Kamloops, British Columbia. Follow Steve on Instagram or visit his website: Maricle Consulting and Fly Fishing Adventures.